 Save to Pinterest
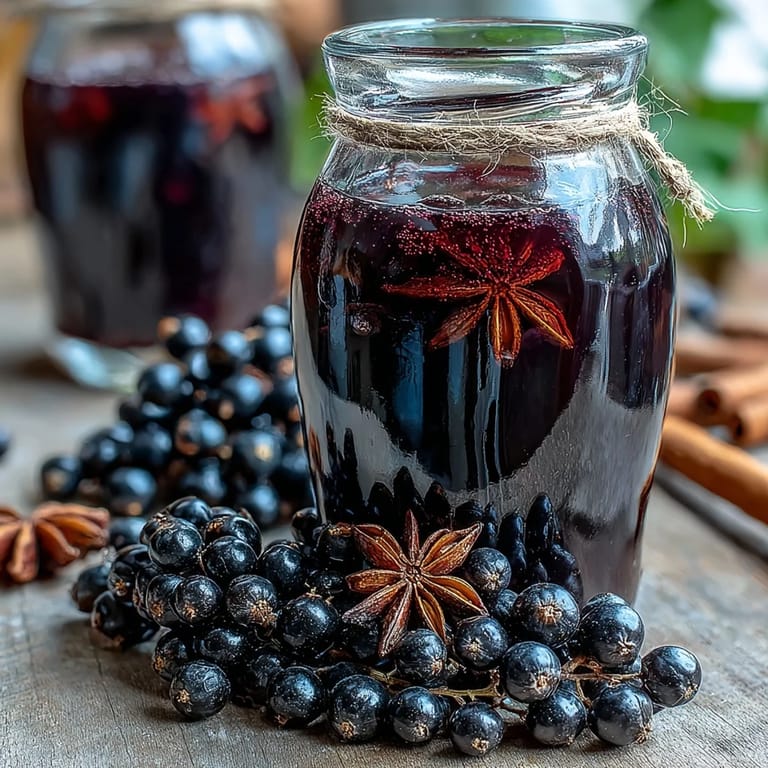
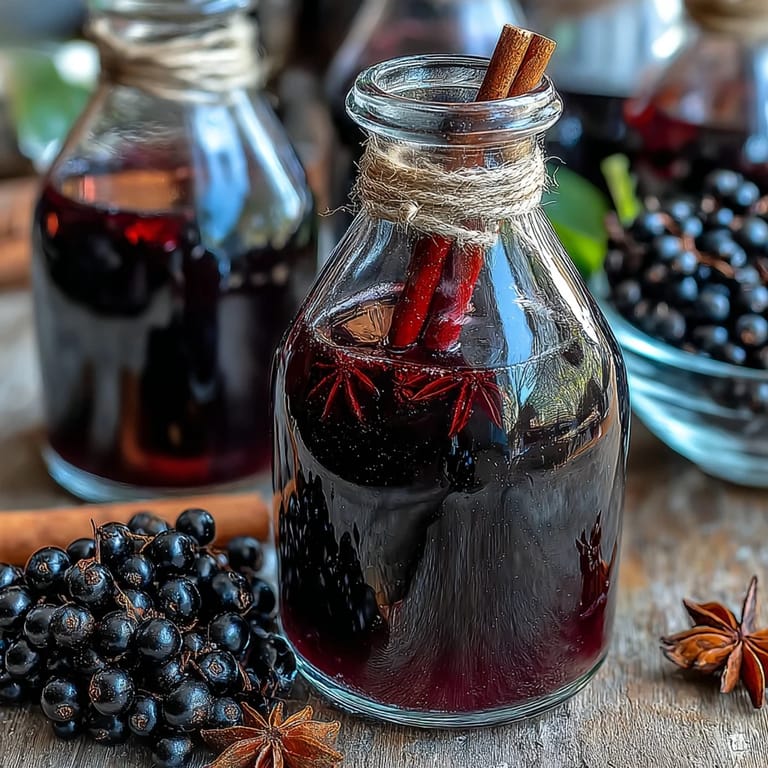
 My kitchen smelled like a spice market the afternoon I decided to make my own liqueur, standing there with a jar and a handful of blackcurrants that had been calling from my freezer for weeks. There's something quietly magical about turning simple fruits and alcohol into something you'd normally buy wrapped in fancy paper, and I was curious whether I could actually pull it off. The funny thing is, I wasn't aiming to impress anyone—I just wanted to see if patience and a few spices could transform ordinary ingredients into something worth sipping slowly on a quiet evening. That first gentle shake of the sealed jar felt like I was setting something alive into motion, like the flavors were already starting their slow dance with the vodka and sugar.
I'll never forget bringing three bottles to my sister's birthday dinner—one for her, and two extras because I'd made too much and couldn't help myself. Watching her face when she tasted it, the way she paused and said it reminded her of something sophisticated she'd had at a wine bar, felt better than any store-bought compliment. That's when I realized this wasn't just about the drink itself, but about the thought and time I'd poured into those jars sitting quietly in my pantry.
Ingredients
- Fresh or frozen blackcurrants, 500 g: These are the heart of your liqueur—they bring a deep, slightly tart richness that vodka alone could never achieve. Frozen ones work beautifully and are often easier to find than fresh; there's no need to thaw them first.
- Good-quality vodka, 750 ml: Don't reach for the cheapest bottle, but you don't need luxury either—aim for something clean and smooth that you wouldn't mind drinking straight. The quality matters because it's the backbone that carries all those fruit and spice flavors.
- Granulated sugar, 250 g: This dissolves gradually and balances the tartness of the blackcurrants while creating a silky mouthfeel. I learned to add it before the vodka rather than after, which helps it start dissolving right away.
- Cinnamon stick, 1: Just a single stick gives warmth and subtle sweetness without overwhelming the delicate blackcurrant flavor—resist the urge to add more.
- Whole cloves, 4: These are potent little flavor bombs; they add an earthy spice note that makes the liqueur feel rounded and complete.
- Star anise, 2: There's something almost floral about star anise that lifts the whole drink, giving it a slightly exotic edge.
- Black peppercorns, 5: A tiny pinch of pepper heat in the background makes everything taste more sophisticated and prevents the drink from feeling one-dimensional.
- Unwaxed lemon zest, 1 lemon (in strips): The citrus brightness cuts through the richness and adds a fresh complexity that lingers on the finish. Always use unwaxed lemons and remove only the yellow part, leaving the bitter white pith behind.
Tired of Takeout? 🥡
Get 10 meals you can make faster than delivery arrives. Seriously.
One email. No spam. Unsubscribe anytime.
Instructions
- Prepare your blackcurrants:
- Rinse them gently and pat completely dry—any excess water will dilute your final liqueur. Give them a light crush with a potato masher or the back of a fork; you're not making jam, just releasing some of their juices so they start giving up their flavor immediately.
- Sterilize and layer:
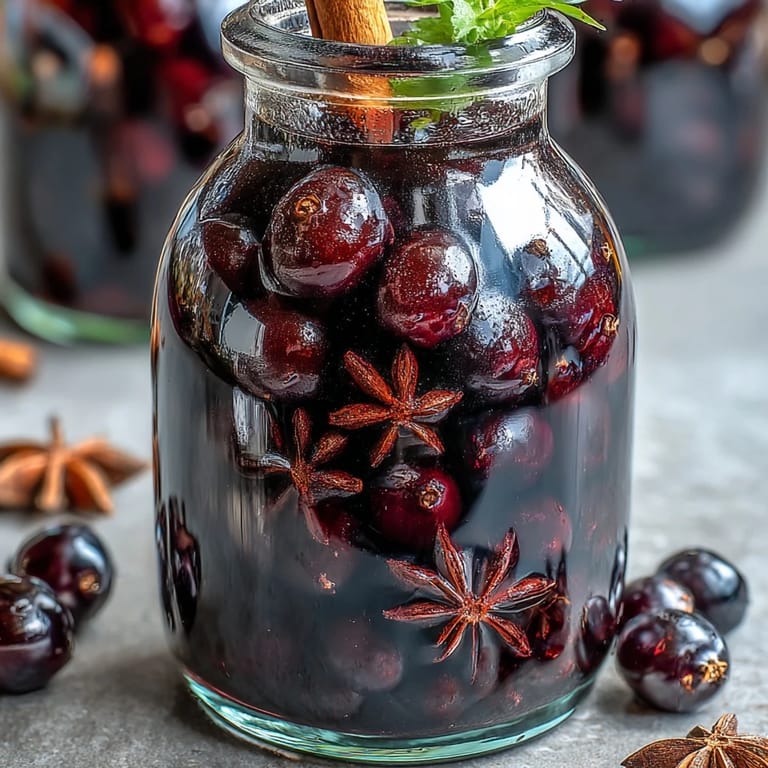
- Pour boiling water through your large jar and let it air dry, or run it through a hot dishwasher cycle. Place your crushed blackcurrants in the bottom, then scatter the cinnamon stick, cloves, star anise, black peppercorns, and lemon zest on top—this way every bit of fruit and spice will be surrounded by liquid.
- Build your infusion:
- Sprinkle the sugar over everything, then slowly pour the vodka over the top. The sugar will start sinking and dissolving right away, and the vodka will turn a beautiful deep ruby color almost instantly, which is deeply satisfying to watch.
- Seal and shake:
- Screw the lid on tightly and give the jar a gentle shake—not violent, just enough to encourage the sugar to start dissolving and the flavors to mingle. This becomes a little ritual you'll repeat every few days.
- Patience in the dark:
- Stash your jar in a cool, dark corner—a kitchen cupboard, pantry shelf, or the back of a closet all work perfectly. Every few days for the next 2–4 weeks, give it a gentle shake and watch the color deepen and the flavors grow more complex; it's like magic happening in slow motion.
- Strain and settle:
- When the infusion time is up, pour the liquid through a fine sieve lined with muslin cloth or cheesecloth into a clean jug, letting gravity do the work. Discard the fruit and spices—they've given everything they have to give.
- Bottle and label:
- Decant your finished liqueur into sterilized bottles using a funnel, seal them tightly, and write the date and what's inside on a label. This is where it stops being just a project and starts feeling like something real.
- Final maturation:
- Let the bottled liqueur sit for at least another week before opening—the flavors continue to marry and smooth out, becoming even more elegant. After that, it's ready whenever you are, and it'll keep beautifully for months.
 Save to Pinterest
 There's a particular satisfaction in gifting something you've made yourself, especially when someone genuinely loves it and asks for your recipe. I've since made batches with different spice combinations and shared bottles with friends who've used them everything from sipping neat to drizzling over vanilla ice cream, and each time it reminds me that the best gifts are the ones that take time and thoughtfulness.
Why Homemade Liqueurs Worth the Wait
There's a completely different quality to something you've created with your own hands—not just different in taste, though that's certainly true, but different in the experience of enjoying it. Store-bought liqueurs are fine, but they lack the story, the little decisions you made about spice levels and sweetness, the anticipation of checking on your jar. Making your own means you know exactly what went into every bottle, there are no mysterious additives or preservatives, and you've got complete control over the final flavor profile.
Flavor Combinations to Explore Next
Once you've mastered the blackcurrant version, this method opens up endless possibilities—try swapping the blackcurrants for raspberries and adding a split vanilla pod, or go with plums and a few cardamom pods for something warmer and more autumnal. The beauty of this approach is that the fundamental technique stays exactly the same; you're just riffing on the theme with different fruits and spice combinations. Each variation teaches you something new about how flavors interact and mature over time, so you become better at intuiting what will work together.
Serving and Sharing Ideas
This liqueur is elegantly versatile—serve it chilled as an after-dinner drink, pour it over ice with a splash of soda water for a refreshing aperitif, or drizzle it over vanilla ice cream, chocolate cake, or fresh berries for a simple dessert that feels impressive. The deep color and complex flavor make it feel special in a way that regular spirits sometimes don't, and it's the kind of thing that transforms an ordinary evening into something memorable. Beyond drinking it straight, I've learned it works beautifully in cocktails, brings depth to chocolate desserts, and honestly, people light up when they realize their drink tastes that good.
- Chill the bottle for at least an hour before serving so the flavors taste cleaner and more refined.
- A small glass (about 25 ml) of this goes a long way because the flavor is concentrated and satisfying.
- Always decant into attractive bottles if you're giving it as a gift, because presentation absolutely matters when someone's opening a gift from your kitchen.
 Save to Pinterest
 There's something deeply satisfying about reaching into your cupboard months later and finding those bottles of liqueur you made, ready to pour and share. This is a recipe that rewards patience and repays it with something genuinely delicious.
Recipe Frequently Asked Questions
- → How long should I infuse the blackcurrants?
Allow the mixture to infuse for 2–4 weeks in a cool, dark place. Shake the jar gently every few days to help dissolve the sugar and distribute the flavors evenly.
- → Can I use frozen blackcurrants?
Yes, frozen blackcurrants work perfectly well and often release their juices more readily than fresh ones. Thaw them slightly before crushing.
- → How should I store the finished liqueur?
Store in sterilized bottles in a cool, dark place or the refrigerator. The liqueur will keep for up to a year when properly sealed and stored.
- → Can I adjust the sweetness level?
Absolutely. Taste the liqueur after straining and add a simple syrup if you prefer it sweeter, or reduce the initial sugar amount for a drier finish.
- → What's the best way to serve it?
Serve chilled over ice, use in cocktails like a martini or spritz, or drizzle over vanilla ice cream, panna cotta, or fresh berries for dessert.
- → Can I use other berries?
Yes, this method works beautifully with blackberries, raspberries, or a mix of berries. Adjust infusion time slightly as softer berries need less time.