 Save to Pinterest
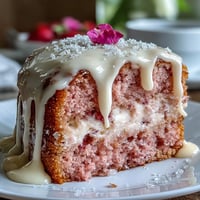
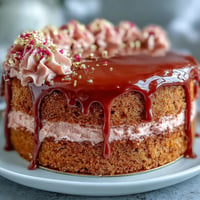
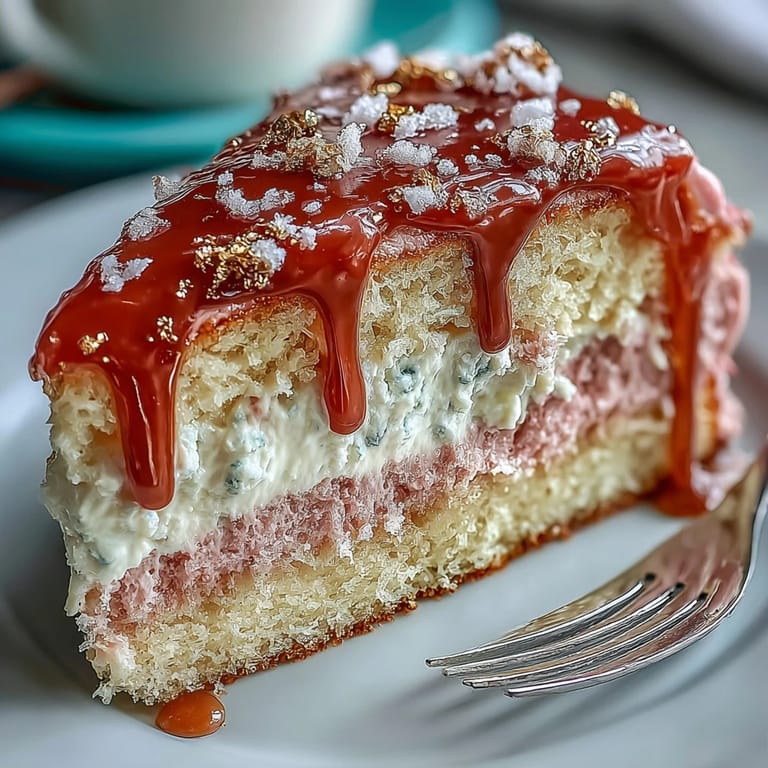
 Swirling pink cake batter on a rainy Sunday afternoon felt like painting a love note to the bride-to-be. The gentle fizz of rosé in the mix, paired with the scent of vanilla and cocoa, filled the kitchen with a sense of lighthearted celebration. Sometimes the most special desserts are the ones that demand a little extra intention—and a touch of edible gold glamour. I never expected a cake could look this stunning without a professional’s help. Watching the gold drip slide slowly down the frosted layers gave me a ridiculous sense of pride—and a few laughs as I tried to steady my hand.
The first time I made this for a bridal shower, I overheard giggles as guests debated whether the gold was real. When the bride gasped at her surprise cake, I caught her mom snapping photos before anyone could slice into the magical pink layers. It transformed a simple get-together into a miniature celebration with forks clinking and everyone angling for a corner piece with the longest ribbon of gold.
Ingredients
- All-purpose flour: This is the base that gives structure; I like to fluff it up with a whisk before measuring to avoid a dense cake.
- Cornstarch: A small amount keeps the crumb light, almost cloud-like—just be sure to fully incorporate it when sifting.
- Unsweetened cocoa powder: Just a hint deepens the flavor and underscores the pink color.
- Baking soda: This helps the cake rise; double check it's fresh for best results.
- Salt: A pinch pulls all the flavors together and tames sweetness.
- Unsalted butter: Starting with room temperature butter means easier creaming and a tender crumb.
- Granulated sugar: For sweetness and classic velvet cake texture.
- Light brown sugar: Adds a gentle caramel note, making every bite taste special.
- Eggs: Make sure they're at room temperature so they blend smoothly; cold eggs can curdle the batter.
- Rosé wine: Choose a fruity bottle you’d actually drink—the flavor is surprisingly noticeable and worth it.
- Buttermilk: Gives tang and moisture; if you’re short, lemon juice in milk works in a pinch.
- Vanilla extract: Can’t skip on the vanilla, especially for that classic velvet cake aroma.
- Pink gel food coloring (optional): Only a tiny dab turns the batter blush—you can leave it out for a naturally pale cake.
- Cream cheese: For that plush, tangy frosting—let it fully soften first to avoid lumps.
- Confectioners’ sugar: Sifted for a cloud-like, lump-free frosting every time.
- White chocolate chips: The foundation for the gold drip—melt gently to keep it silky smooth.
- Heavy cream: Turns the chocolate into a dreamy ganache for dripping.
- Edible gold luster dust: The wow factor—just a touch brushes onto the drips once set.
- Clear vodka or lemon extract: Needed to make the gold paint; both evaporate without flavor.
Tired of Takeout? 🥡
Get 10 meals you can make faster than delivery arrives. Seriously.
One email. No spam. Unsubscribe anytime.
Instructions
- Prep your pans:
- Grease and line three 8-inch cake pans so nothing sticks, and preheat the oven to 350°F for even baking.
- Sift dry ingredients:
- Combine flour, cornstarch, cocoa, baking soda, and salt by sifting them into a bowl—the fine powder feels satisfyingly soft between your fingers.
- Cream butter and sugars:
- Beat together the butter, granulated sugar, and brown sugar until fluffy; listen for the gentle whoosh of the mixer and pause to scrape the bowl down.
- Add eggs and vanilla:
- Crack in the eggs one at a time, blending until smooth, then stir in the vanilla for a sweet aroma.
- Mix wet ingredients:
- Pour rosé and buttermilk into a jug—the pastel swirl is oddly mesmerizing—and give it a stir.
- Combine the batter:
- Alternate adding flour mixture and rosé-buttermilk to the creamed butter, starting and finishing with flour; sneak in pink gel coloring if you like a bolder look.
- Bake the cake:
- Divide the batter evenly between pans, smooth the tops, and slide them into the oven for 28–32 minutes until springy on top.
- Cool and unmold:
- Let cakes cool in the pans for 10 minutes—steam will rise and fill the kitchen—then turn onto a rack to cool fully.
- Whip up the frosting:
- Blend softened cream cheese and butter until creamy, then slowly add sifted confectioners’ sugar, vanilla, and a pinch of salt until fluffy and smooth.
- Assemble the cake:
- Stack the cooled cakes with generous swipes of frosting in between and around—use an offset spatula for those sharp, bakery-style edges—then chill for half an hour to set.
- Make and drip ganache:
- Melt white chocolate chips gently with cream, cool until just warm, and then use a spoon to coax drips around the cake’s edge before chilling again.
- Paint the gold:
- Mix luster dust with vodka or lemon extract, then lightly brush each drip for a shimmery finish as dramatic or subtle as you like.
- Decorate:
- If the mood strikes, crown the cake with edible flowers or gold leaf for an extra flourish.
 Save to Pinterest
 When I arrived with this cake at my friend’s pre-wedding brunch, her aunt hugged me before even saying hello—she just couldn’t believe someone had made something so dreamy by hand. Watching the slices disappear and hearing the chatter about 'that gold drizzle' made all the fuss feel like a shared joy instead of a chore.
Getting the Gold Drip Just Right
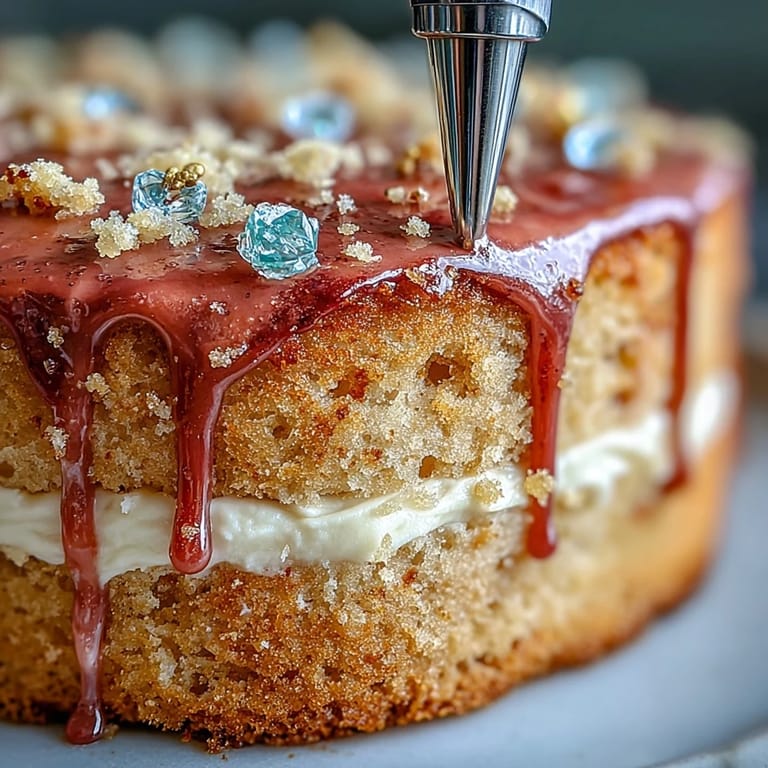
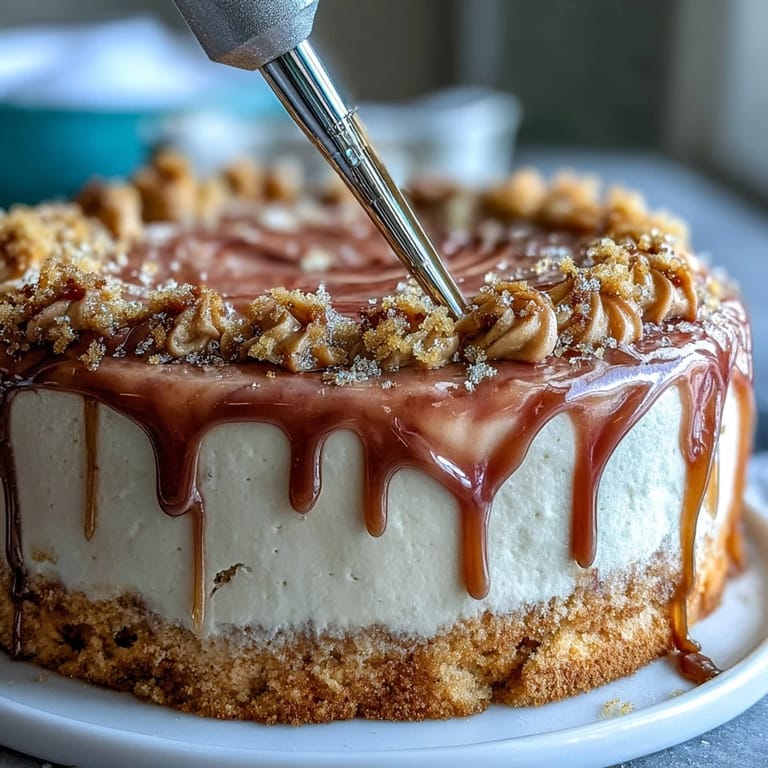
My first attempt at the gold drip nearly ended with white chocolate running to the counter and me panic-laughing behind a spatula. The trick is letting the ganache cool just enough so it moves slowly, giving those signature drips without racing to the bottom. A small spoon or squeeze bottle gives you the most control, and if you make a few mistakes, just hide them with extra flowers or a second swipe of gold paint.
Rosé Cake Swaps and Tips
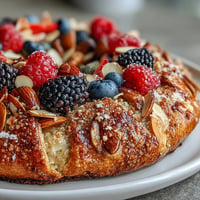
I once realized too late that we were out of rosé, so I swapped it for sparkling pink cider—the result was just as celebratory, with a hint of apple. Experimenting with the liquid part of the recipe taught me that it’s all about keeping those pretty blush tones and a bit of fizz for a truly light crumb. Fresh berries on top are another welcome, colorful bonus, making every slice photo-worthy.
Frosting and Assembly Tricks
Sometimes my frosting looked lumpy until I made sure every ingredient was at true room temperature—no shortcuts there. Chilling the cake between frosting and drips was the difference between Instagram-worthy and frosting avalanche. If you want extra romance, use a piping bag for swirls or rosettes.
- If the frosting feels stiff, a teaspoon of milk brings it right back.
- Always taste the ganache before dripping to ensure it’s smooth.
- Wipe your cake knife between slices for the cleanest layers.
 Save to Pinterest
 Cake this lovely deserves a celebration, but the fun of making it—and sharing a sparkling pink slice—is the real treat. Here’s hoping your next celebration feels just as golden.
Recipe Frequently Asked Questions
- → How do I ensure even cake layers?
Weigh or divide batter evenly between pans and use a spatula to smooth the tops. Rotate pans in the oven if your oven has hot spots, and test doneness with a toothpick near the center.
- → How can I keep cream cheese frosting stable?
Use room-temperature cream cheese and butter, beat until smooth, then add sifted confectioners' sugar gradually. Chill the frosted cake briefly before final smoothing to firm the frosting for decorating.
- → What creates the pink hue naturally?
Rosé wine adds a subtle blush; for a deeper pink, a small amount of pink gel or natural beet powder can be used. Alternatively, use pink grape juice for color and a non-alcoholic option.
- → How do I get a smooth, even gold drip?
Make a white-chocolate ganache at a pourable but not runny consistency, cool slightly, then spoon or pour along the edge. Chill to set the drip, then mix edible gold luster dust with a few drops of vodka or lemon extract and paint the drips gently.
- → Can I make this without alcohol?
Yes. Substitute rosé with high-quality pink grape juice or sparkling cider for similar sweetness and color while keeping the cake tender and flavorful.
- → How should I store the finished cake?
Store refrigerated in a cake box or covered to protect decorations. Bring to room temperature 30–60 minutes before serving for best texture and flavor. Consume within 3–4 days for freshness.